If you find yourself with a little extra time this summer — and an overabundance of cruciferous vegetables — consider trying your hand at fermentation. It may sound like a complicated science experiment, but with this tried-and-true recipe and a few pro tips, you’ll be on your way to perfecting your fermenting in no time.
During a Fermentation 101 class at Dovetail Bar & Restaurant (1430 Rhode Island Ave. NW, Washington, DC) — the first in a quarterly series of chef-led classes planned at the Viceroy Washington DC hotel — executive chef James Gee taught the ancient art of fermenting.
How to Do It
1. Clean, peel, and trim vegetables to the desired size. (Gee says you may end up with a little more than 2 pounds of vegetables after this step.)
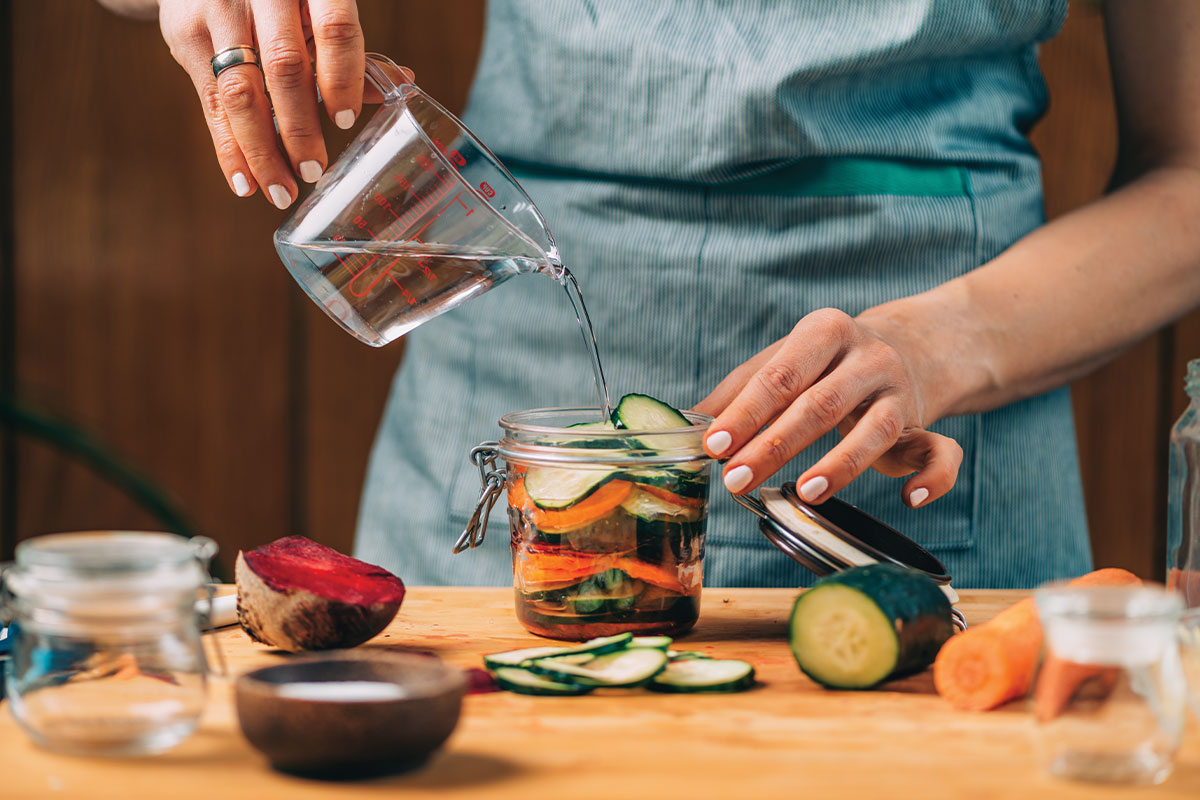
2. Place the vegetables and garlic in your clean container(s), making sure to leave at least 1 to 2 inches at the top of each container. (Depending on the size of your containers, you may need one or more of them.)
3. Heat water to boiling and remove from heat. Add spices and salt to create a brine.
4. Allow the brine to cool to room temperature, then pour it over your vegetables in the container(s), ensuring the vegetables are completely submerged. (You might have leftover brine after this step.)
5. If any of your vegetables begin to float, fill the clean, quart-size zip-close bag (or bags, if using multiple containers) with the leftover brine and seal it tightly. Place the bag on top of the vegetables to act as a weight to submerge them. With the bag left inside the container, cover it with plastic wrap and place it in a cool, dark place in your home. (You don’t need to close the lid.)
6. After two weeks, use a pH test strip to check the pH of your vegetable mixture. It should be 4.6 or lower. If it is not, allow the mixture to continue fermenting. Check it every few days until it reaches 4.6 or lower.
7. Once the pH reaches 4.6 or lower, it’s time to taste your veggies. First, spoon out any white floaties that may appear. (Don’t worry — they are harmless byproducts of the fermentation process.) Then take a small taste of the veggies. If they taste good, your fermented veggies are done. If not, re-cover the container with the plastic and leave it in the cool, dark place to allow for more fermentation.
8. Check on the mixture every few days, continuing to remove any white floaties and tasting it until it suits your palate. The fermentation time can take anywhere from two to six weeks.
9. Once you’ve deemed your fermented vegetables ready, place the container(s) in the refrigerator to slow the fermentation process. You can store the vegetables in the fridge for about four to six weeks. (Chef’s note: The vegetables will continue to ferment, albeit more slowly, during that time.)
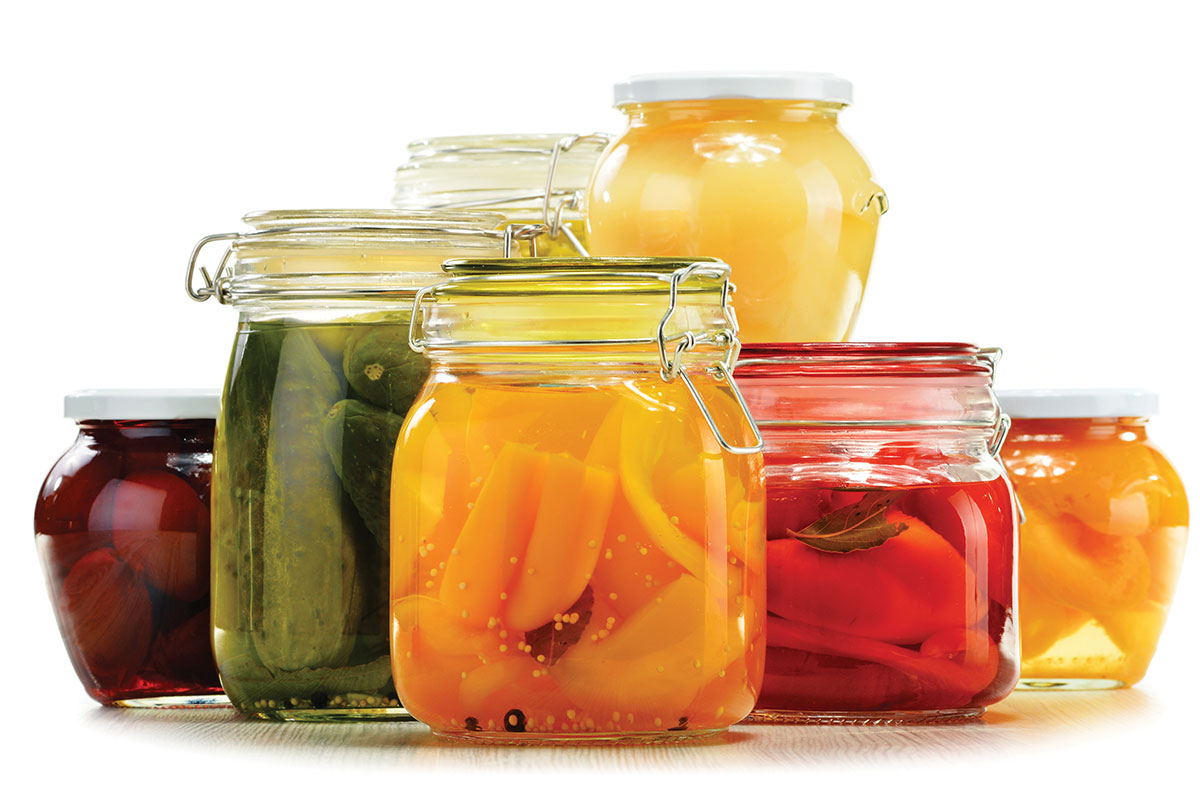
What to Ferment
Try cauliflower, carrots, peppers, green beans, cabbage, celery — or all of the above. Avoid anything with too much natural sugar, such as beets.
Shopping List
- 2 1/2 pounds of fresh vegetables
- 3–4 cloves of garlic, gently crushed
- 160 grams of salt (about 5 1/2 ounces by weight)
- 2–4 tablespoons of spices and herbs of choice, or a basic pickling spice
Other Supplies
- Plastic or glass wide-mouth containers
- 3 liters of water (a little more than 2 quarts)
- Quart-size zip-close plastic bags
- Plastic wrap
- Instant-read pH test strips (kits are sold on sites such as Amazon)
Pro Tips
Vegetable quality: Make sure you use fresh vegetables without wax or other coatings.
Clean and dry: Avoid exposing your vegetables to any bacteria. Wash your hands, vegetables, knife, containers, plastic bags, etc., and dry everything thoroughly.
Storage: Keep at room temperature (65–75 degrees) and away from direct light. Avoid storing your fermenting vegetables in a metal container.
Time: Plan to ferment your vegetables for two to six weeks, depending on your palate. You should ferment for least seven days to allow for enough lactic acid to build up and kill any bacteria, such as E. coli.
Mold: If you see any fuzzy green, red, or blue substance in your mixture, discard it. It’s better to be safe than sorry.
This story originally ran in our April issue. For more stories like this, subscribe to Northern Virginia Magazine.