Choosing a costume isn’t the only way for kids to get creative around Halloween.
Below, find three crafts that will keep eager hands entertained.
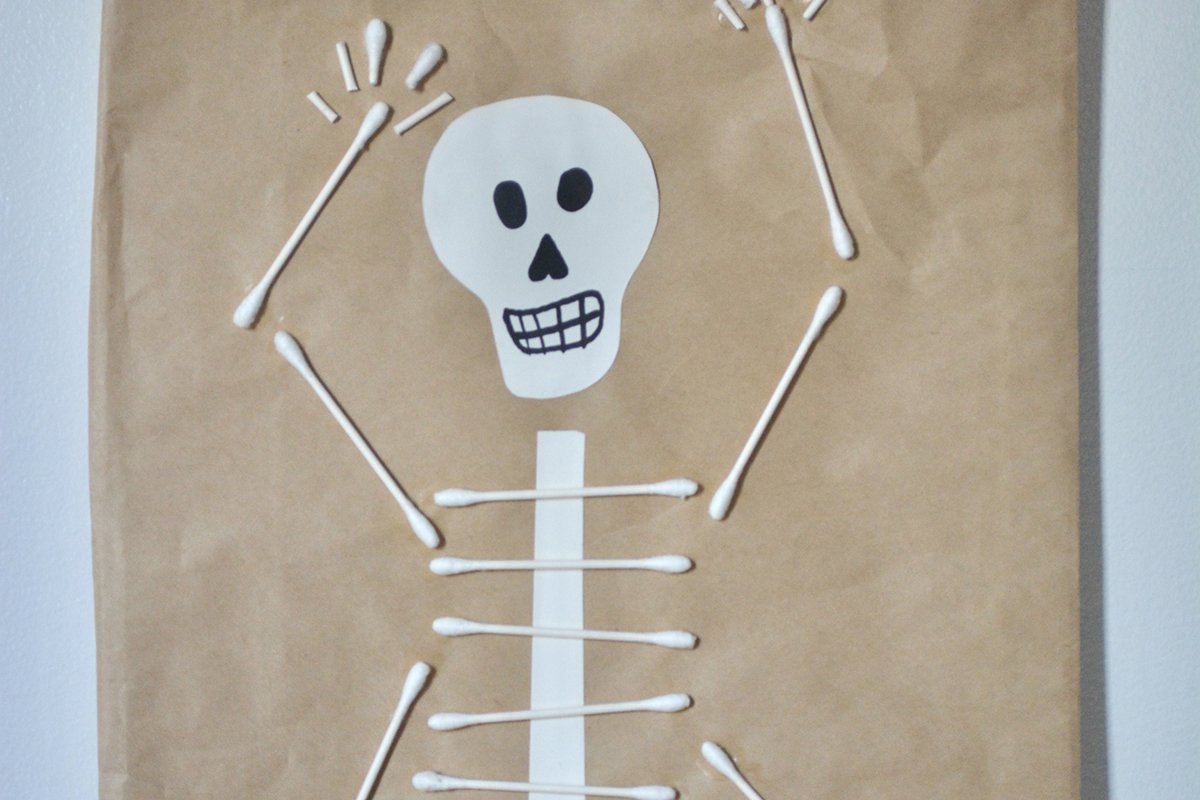
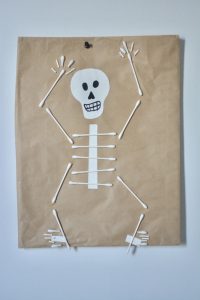
Skeleton
A “bone-a-fide” favorite this time of year, a skeleton can make for an excellent addition to your seasonal decor. Not keen on a scary creature? A simple smile can make any skeleton look less frightening.
What you’ll need:
- Q-tips (at least 12)
- One white piece of paper
- One colored piece of paper
- Marker
- Liquid glue
- Scissors
Directions:
- From the white paper, cut out a lightbulb shape. This will be the skeleton’s skull. Draw on a face then glue the head at the top of the colored background paper.
- Cut out a medium-sized strip of white paper and paste it vertically below the head. This will serve as the spine.
- Lay down five ribs by putting small dots of glue directly onto the background paper (where you want the Q-tips to be placed, of course). Do the same for the arms and legs.
- Paste one small rectangle at the end of each leg. These will be the skeleton’s feet.
- For fingers and toes, you’ll need four Q-tips – two for each hand and two for each foot. Take one Q-tip and cut off the two fluffy ends. Then, cut the remaining stick into three pieces. The five pieces you’ve made using one Q-tip will be the fingers of one hand. Repeat this process for the other hand and two feet.
Tip: Q-tips make great glue-applicators. To avoid big chunks of glue, use a separate Q-tip to scoop and apply the adhesive to the Q-tips you are putting on paper.
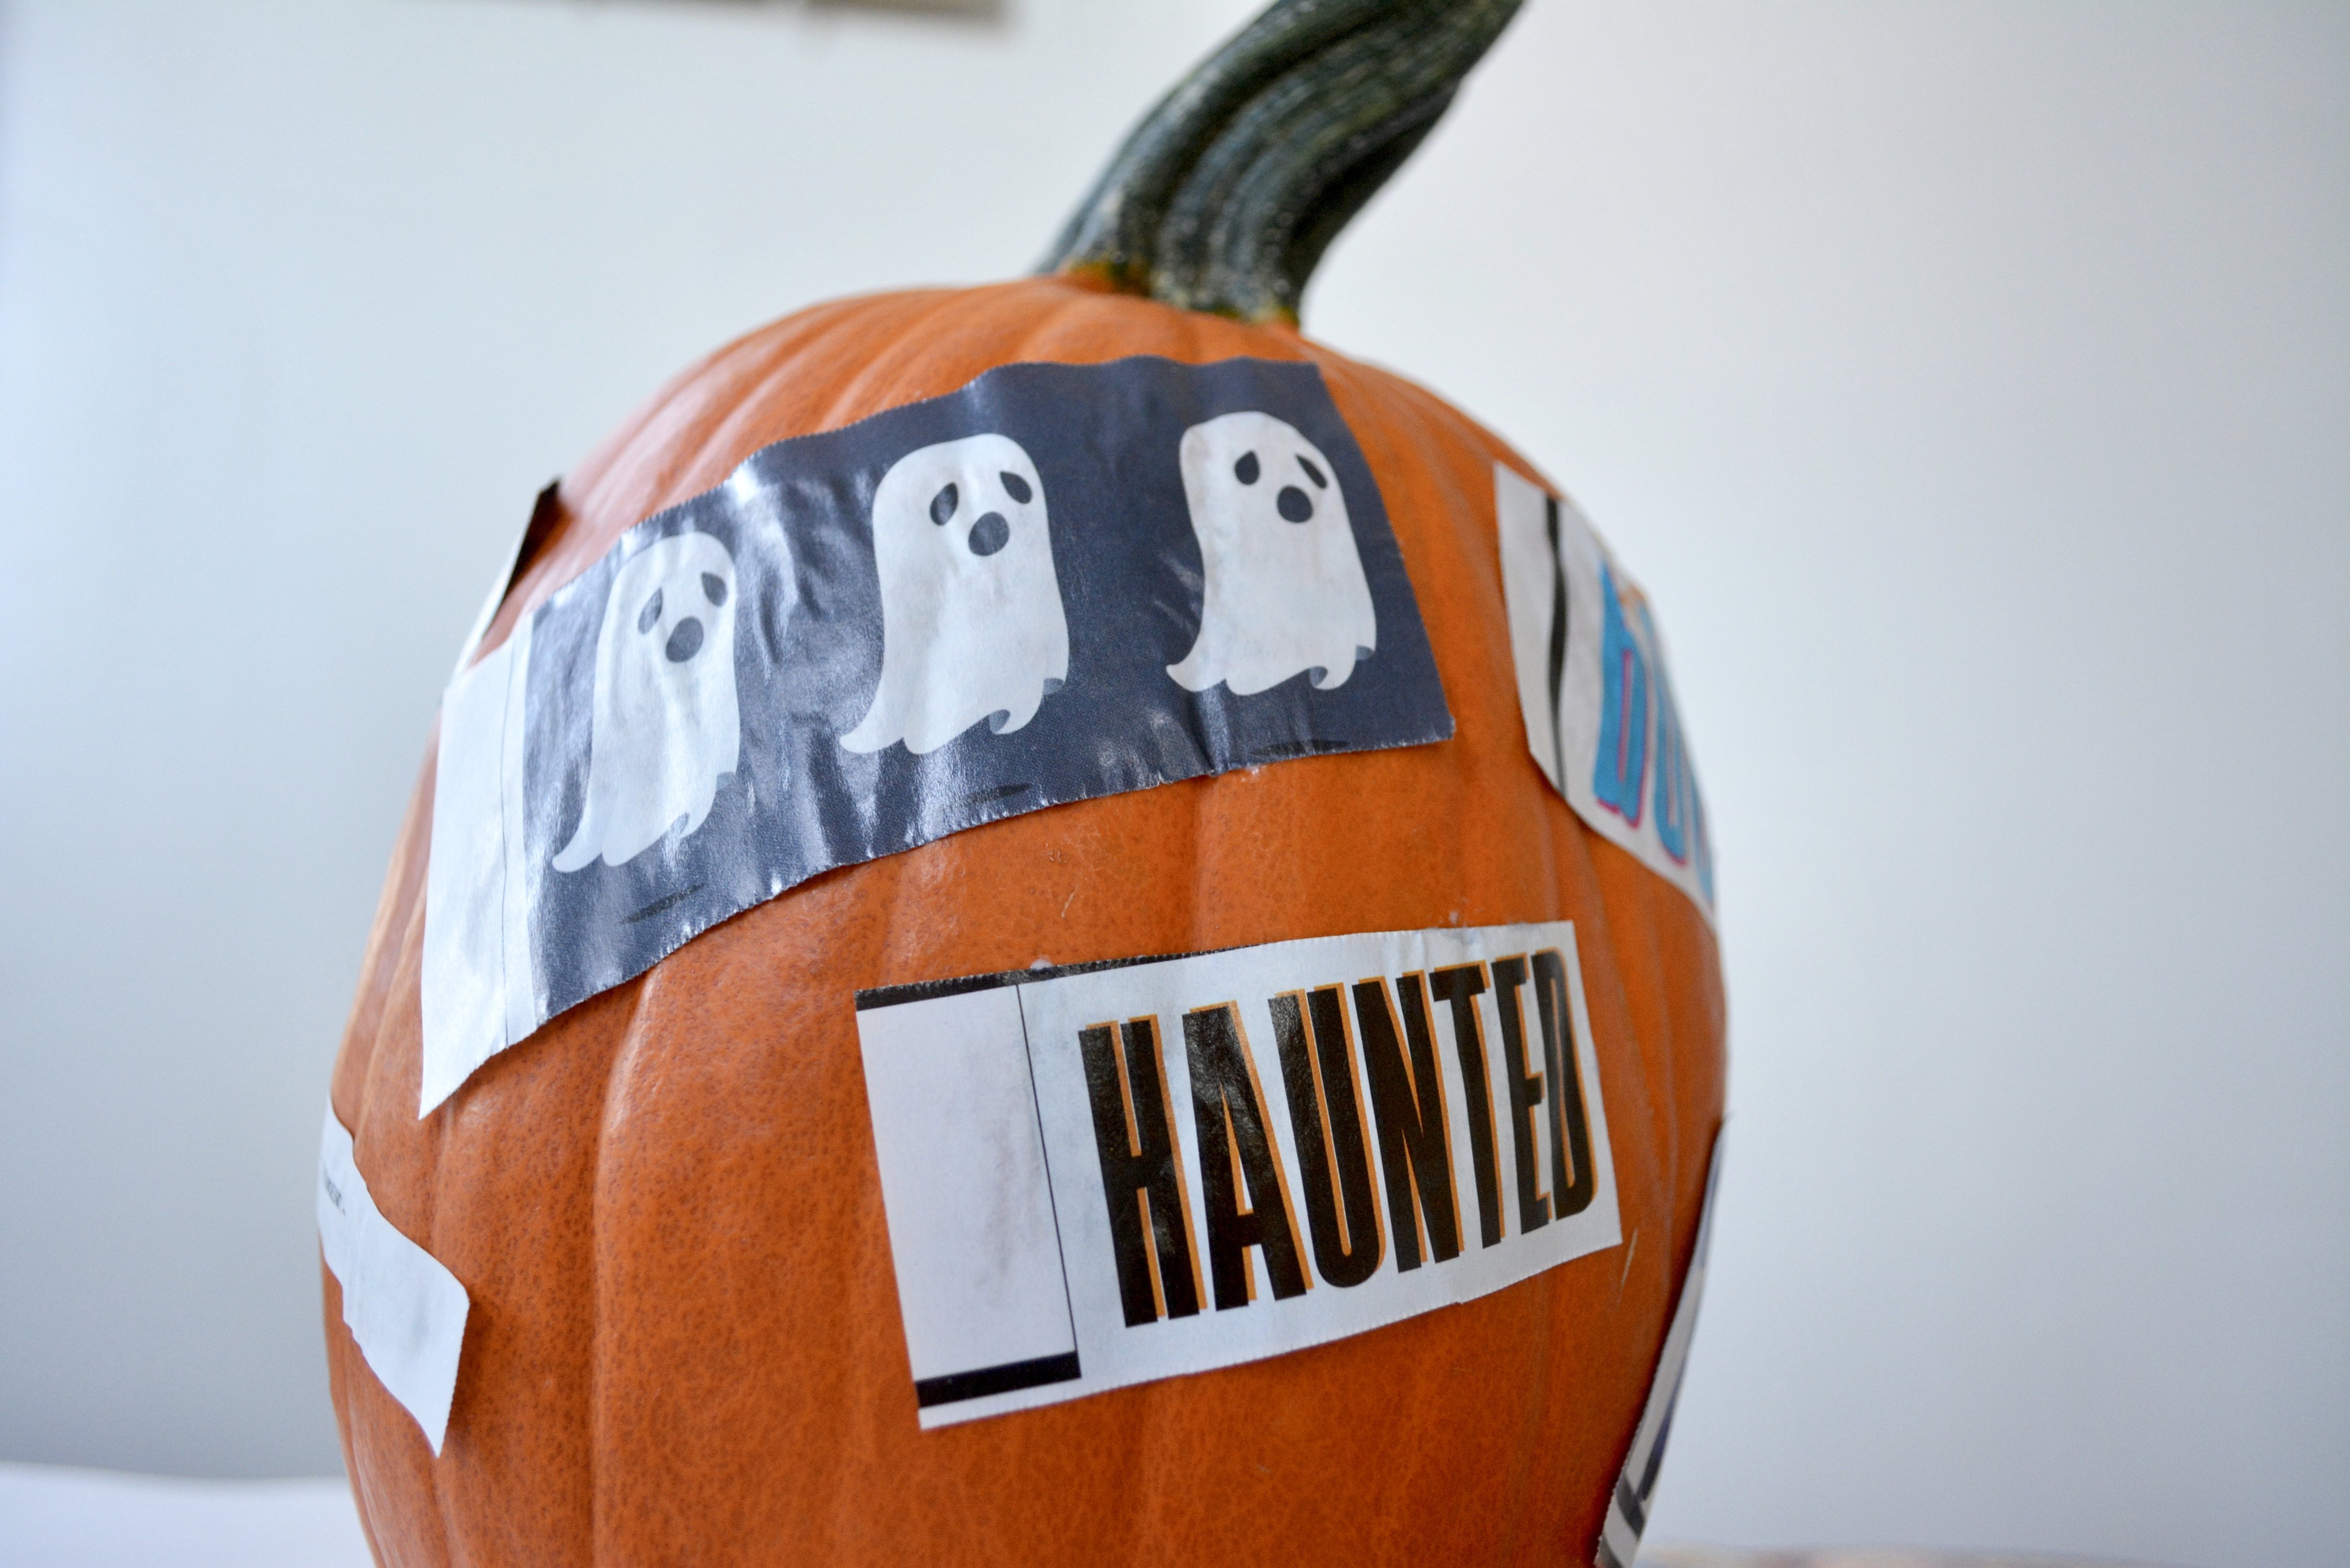
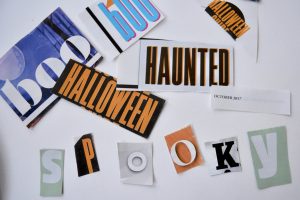
Pumpkin
Collages are a creative way to repurpose old newspapers, magazines and other paper products that you have lying around the house. Remember that a little glue goes a long way—especially when using a liquid glue.
What you’ll need:
- A pumpkin
- Liquid glue
- Old paper products
- Scissors
Directions:
- Gather whatever papers no longer serve a purpose in your home. Get creative by either cutting out individual letters or trying to find your desired Halloween phrases within bigger words. (Here, the blue and white “boo” comes from the word “datebook” in the October issue of Northern Virginia Magazine.)
- Once you’re satisfied with your scraps, start to paste them onto the pumpkin.
Tip: Make sure you’re not drenching your paper in paste. Oversaturating can cause crinkles and even tears.
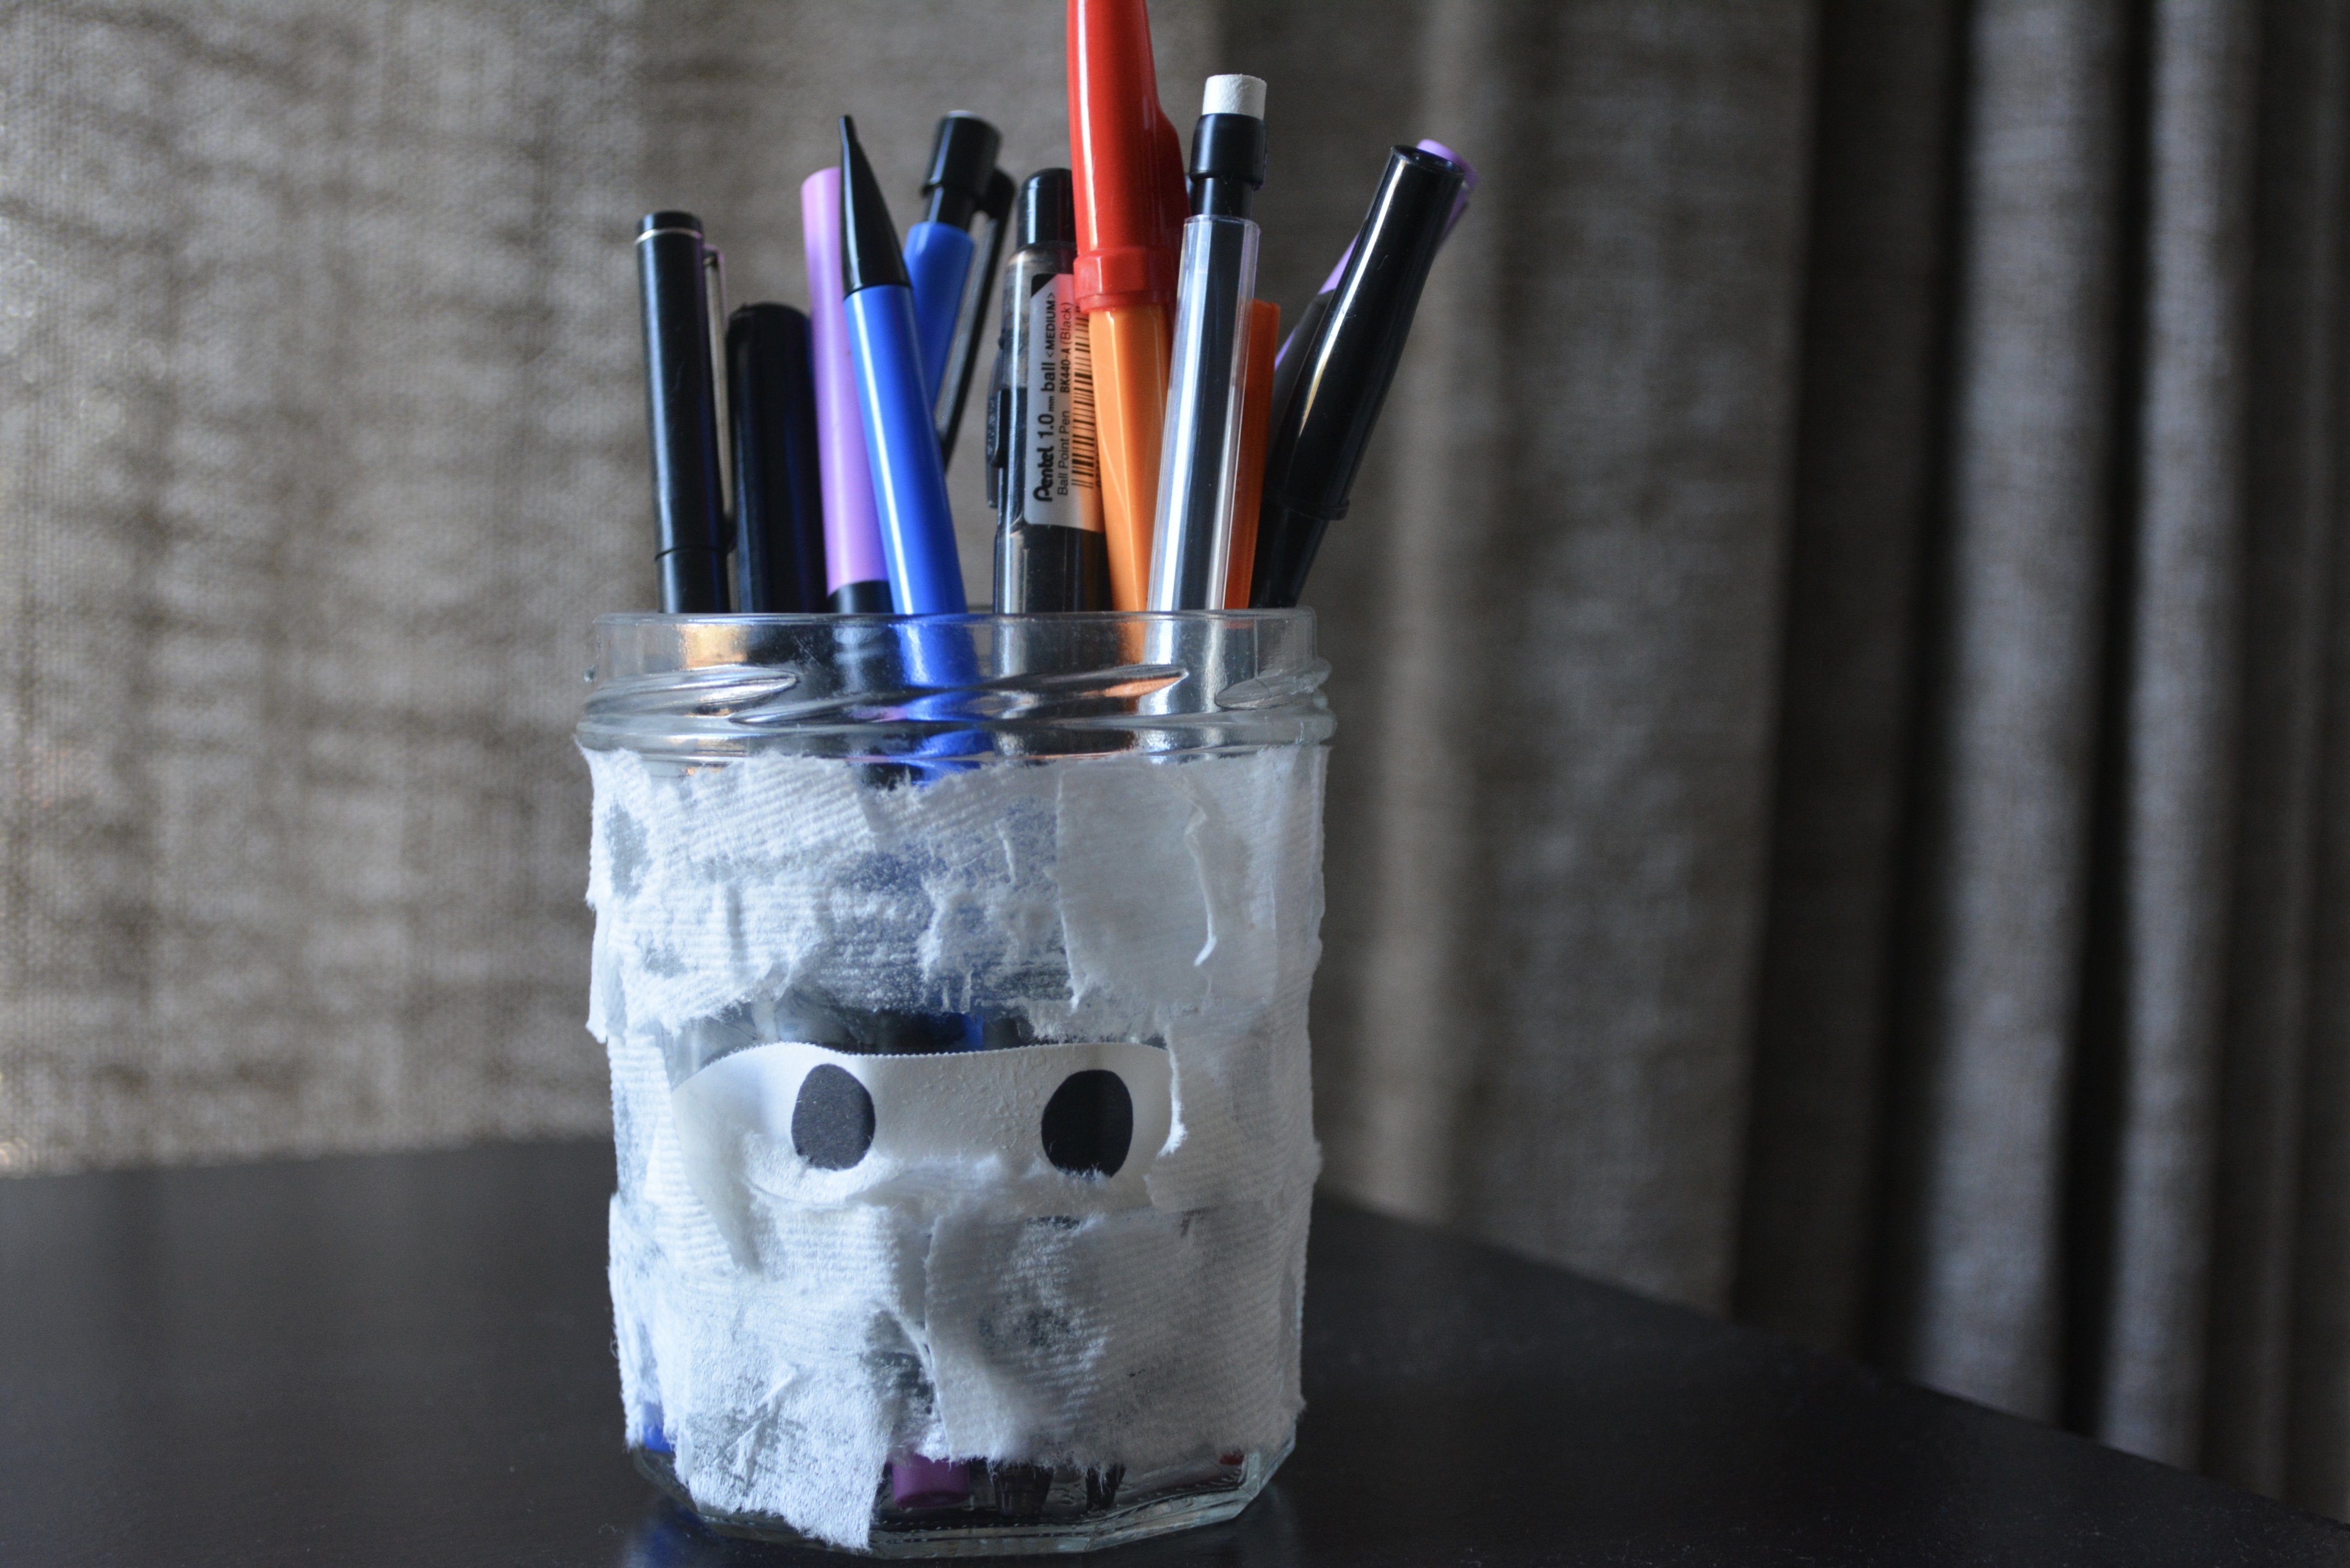
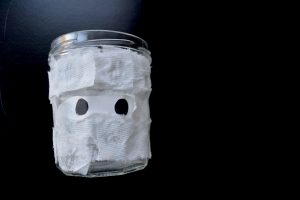
Mummy
Brush up on some ancient Egyptian history as you create your own mason jar mummy.
What you’ll need:
- Liquid glue
- Jar (glass or plastic)
- Toilet paper
- White paper
Directions:
- Tear toilet paper squares into medium-sized strips. If you can’t get a whole strip, don’t worry. Overlapping and random sized strands will add to the authenticity of your mummy.
- Draw a pair of eyes on a piece of paper and cut them out as one joint unit rather than as two individual eyes.
- Glue the eyes to the center of the jar.
- Apply a horizontal line of glue onto the jar (it doesn’t matter where). Lay one of your toilet paper strips over the glue. For a mummy with extra texture, place multiple strips on top of the one you laid down first. Add layers quickly so that the first layer’s glue can seep through.
- Continue adding toilet paper strips until the jar is covered, then use the finished product as a pencil holder.
Tip: Paper towels, gauze or tissue paper can be used as a toilet paper substitute. Cotton balls will also work so long as you pull them apart until they’re thin and
spindly.